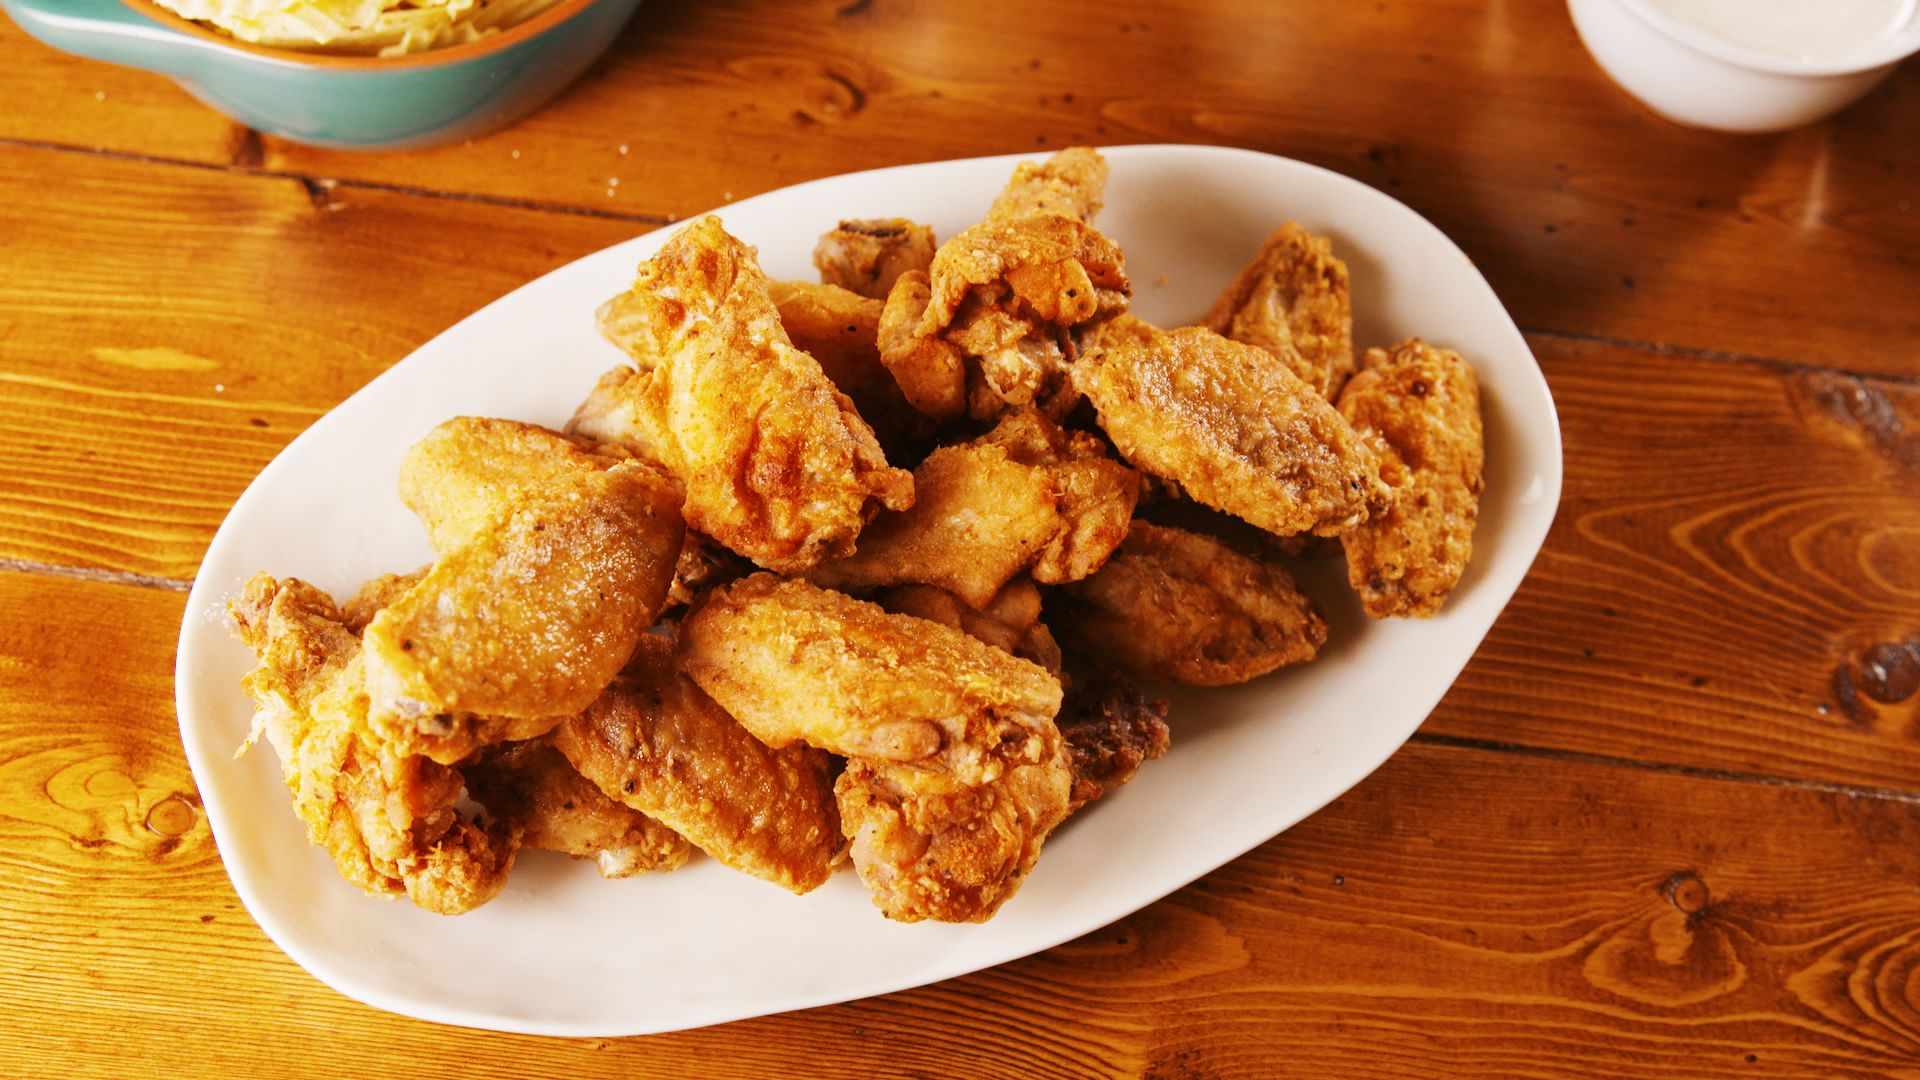
You’ve been lied to about what makes a good wing. Most people think it’s about the oil temperature or some "secret" blend of eleven herbs and spices that someone’s nephew leaked on Reddit. It’s not. If you want a fried chicken wings recipe that actually holds up against a bowl of buffalo sauce without turning into a mushy mess within four minutes, you have to understand the science of skin.
Most home cooks fail before they even turn on the stove. They take wings straight from the plastic grocery store pack, toss them in flour, and drop them in a pot. Result? Rubbery skin. Steam trapped under the breading. Sadness.
The Moisture Problem Everyone Ignores
Water is the enemy of a crisp wing. When you buy chicken, it’s usually sitting in a purge—that pinkish liquid in the bottom of the tray. If that moisture stays on the skin, you aren't frying; you’re steaming from the inside out.
I’ve spent years obsessing over the physics of the Maillard reaction and how it interacts with poultry fat. To get that glass-shattering crunch, you need to dehydrate the exterior. This isn't just an opinion; it's a culinary fundamental practiced by everyone from J. Kenji López-Alt to the cooks at your favorite local dive bar.
Honestly, the easiest way to do this is the "fridge dry." You take your wings, pat them down with paper towels (and I mean really get in there), and then set them on a wire rack over a baking sheet. Put them in the fridge, uncovered, for at least four hours. Overnight is better. The cold air circulates, pulling moisture out of the skin. When they come out, they should look slightly translucent and feel tacky. That’s exactly what you want.
The Baking Powder Trick
If you want to cheat—and you should—use baking powder. Not baking soda. Baking powder.
According to a well-documented technique popularized by Serious Eats, mixing a little aluminum-free baking powder with your salt rub raises the pH level of the chicken skin. This allows the proteins to break down more efficiently, creating thousands of tiny little bubbles on the surface. These bubbles increase the surface area, which means more crunch. It’s basically chemistry working in your favor to mimic the texture of a deep-fryer even if you’re using a shallow pan or an air fryer.
Constructing Your Fried Chicken Wings Recipe
Forget the heavy batters. Unless you’re making Korean Fried Chicken (which is its own beautiful, double-fried beast), a heavy flour coating often leads to a "cakey" wing that falls off in one piece. For a classic American wing, we want the skin to be the star.
The Dry Brine
- Kosher Salt: Use more than you think. Salt doesn't just season; it denatures the proteins so the meat stays juicy while the skin dries out.
- Baking Powder: Use about 1 teaspoon per pound of wings.
- Smoked Paprika: Mostly for color. It gives that deep mahogany hue that looks great on camera.
- Garlic Powder: Because we aren't savages.
Mix these and toss your dried wings in them before that fridge rest I mentioned. Don't add black pepper yet. Pepper burns in hot oil and turns bitter. Save it for the sauce or the post-fry toss.
The Oil Debate: What Actually Works
You need an oil with a high smoke point. Don't use extra virgin olive oil. It’s expensive, and it’ll smoke out your kitchen before the chicken even gets close to done. Peanut oil is the gold standard because of its flavor and stability. If you have an allergy, go with Grapeseed or a high-quality Canola.
The temperature needs to stay between 350°F and 375°F. If you drop the wings in and the temperature plummets to 300°F, you’re essentially poaching the chicken in fat. It’s gross. Fry in small batches. It takes longer, but it’s the difference between a soggy wing and a legendary one.
Why the Double Fry is Non-Negotiable
If you look at the best fried chicken wings recipe traditions—specifically those coming out of Seoul or high-end gastropubs—they all do a double fry.
The first fry is at a lower temperature, around 325°F. This cooks the meat through and starts the rendering of the subcutaneous fat. You pull them out while they still look pale. Let them rest for 10 minutes. This rest period allows the internal moisture to migrate to the surface.
Then, you crank the heat to 400°F and drop them back in for a quick two-minute blast. This flash-evaporates that migrated moisture and creates a rigid, crispy shell that can withstand being tossed in a heavy butter-based sauce. It’s a game-changer. You've never had a wing this crispy at home, I promise.
The Sauce Science
Stop using cold sauce.
If you take a piping hot wing and toss it in cold Buffalo sauce, the temperature shock creates condensation. That's how you lose the crunch you just worked so hard for. Warm your sauce in a small saucepan. Emulsify your butter into the hot sauce slowly. This creates a thick, velvety coating that clings to the ridges of the wing rather than pooling at the bottom of the bowl.
Common Mistakes and How to Avoid Them
- Crowding the Pan: I mentioned it before, but it bears repeating. If the wings are touching, they aren't frying. They're hugging. Hugging creates steam.
- Using Cold Chicken: Taking wings straight from the fridge to the oil is a mistake. Let them sit on the counter for 20 minutes to take the chill off. This prevents the oil temperature from crashing.
- Ignoring the Bone: Check the joints. If you see blood or dark red spots, the wing isn't done. The internal temperature should be at least 165°F, but wings actually taste better closer to 185°F because the collagen has more time to melt into gelatin.
Real World Application: The Workflow
To make this happen tonight, follow this specific order. Don't skip the rest periods.
Start by butchering your wings if you bought them whole. Separate the drumette from the flat. Cut off the tips—save those for chicken stock, don't throw them away. Pat them dry until the paper towel comes away bone-dry. Toss them in your salt and baking powder mixture.
Place them on a rack. If you're in a rush, put a desk fan in front of the rack for 30 minutes. It sounds crazy, but it works.
Heat your oil. Use a thermometer. If you don't have a clip-on fry thermometer, buy one. Guessing the temperature of oil is a recipe for a kitchen fire or a greasy dinner.
First fry: 6-7 minutes at 325°F.
Rest: 10 minutes on a clean rack.
Second fry: 2-3 minutes at 400°F until they are GBD (Golden, Brown, and Delicious).
Actionable Next Steps
To master the fried chicken wings recipe, start by cleaning out your fridge to make room for a half-sheet pan. Go to the store and buy air-chilled chicken wings; they have less injected water than the cheaper brands. Invest in a digital instant-read thermometer to ensure you're hitting that 185°F internal sweet spot where the meat literally falls off the bone. Finally, prepare your sauce before the second fry so the wings go from oil to sauce to mouth in under sixty seconds. This is how you achieve wing nirvana.